


Painting your walls is one of the most effective ways to brighten up your room. And anyone can paint a room and get awesome results through efficient and neat work. But since you’re doing it yourself, this project might not turn well if you’re not careful.
Before you grab your painting materials, it’s important to have a plan on how you’ll do it first. Read more and learn how to paint your room and produce professional results.
Step-by-step process of painting your room on your own
DIY painting for both beginners and veterans is a trend for quite some time–it’s painless and budget-friendly. Are you planning to start painting your room soon? Here’s a quick guide on how to do it right and avoid terrible results.
Plan your approach.
You can’t start the painting process just like how you think you want it. You need to have a clear plan on how you’ll do it to make sure your project won’t go terribly wrong. In most cases, this preparation is done a day or more before you start painting.
You can start by moving all your furniture to a place where it won’t be dropped with paint. You can pile up your large furniture and cover them with a cloth. Remove the chandeliers or any obstruction in the ceiling if you also want to paint it.
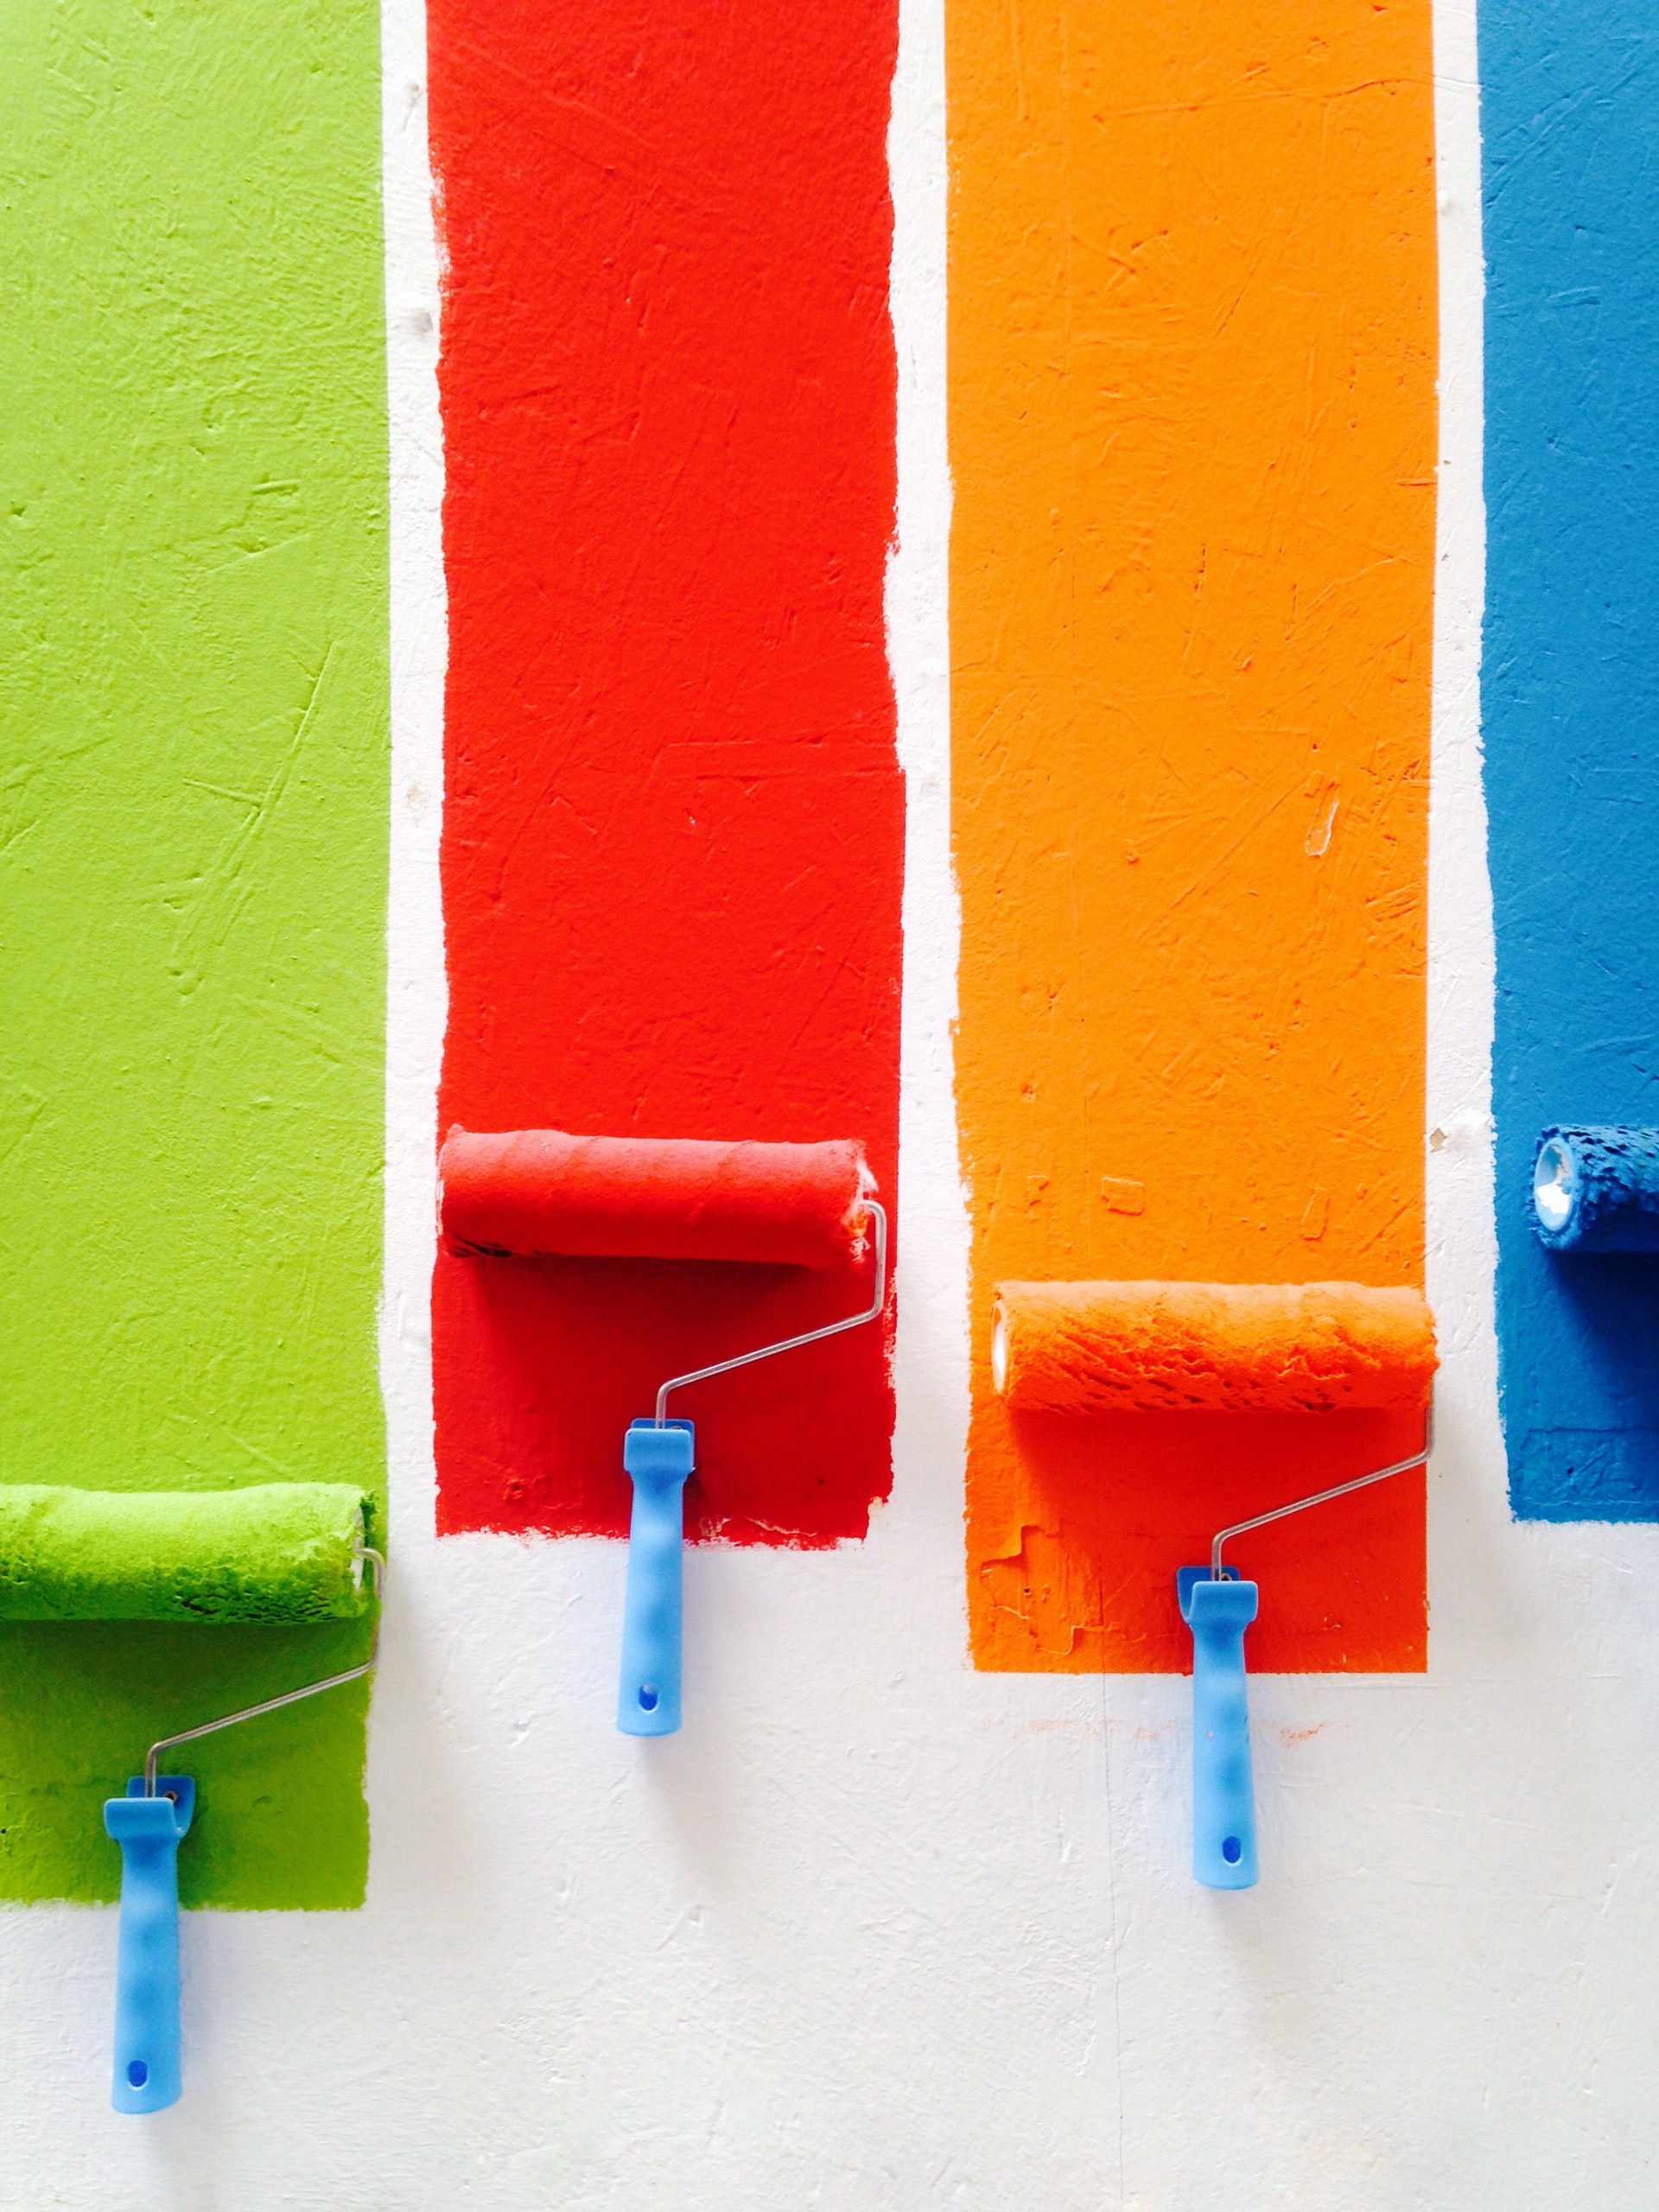
From there, you can start assessing what you want your room to look like after your painting project. Don’t just stick with the same color for the four walls of your room. Consider painting an accent wall in a bold hue with a contrasting color. And don’t forget to look up to your ceiling too!
Repair damaged areas.
Scrape away the old paint and remove the flaky areas around your room. This will be your next step in preparing your room for a new paint. You can also use a primer-sealer to cover some old paints before you start repainting your wall.
Fix any holes or scratches in your walls to avoid uneven paints. You can patch small holes or dents using a drywall compound. For large imperfections, cut away a drywall or a plaster and patch it to the wall. Let the patches dry and use a slightly wet sponge to remove the dust before you start painting.
Prepare the surface.
Before starting, you need to clear the surface first and detach the electrical switches and outlet covers. To make sure you won’t lose any screw, tape them at the back of each outlet or secure them in a container. You can also use a painter’s tape to cover your windows, ceiling moldings and door frames. This will prevent paint spillage and drippings.
Make sure you only paint on dry surfaces. While working, open your windows or turn on fans to provide enough fresh air and allow the paint to dry.
Prepare your materials.
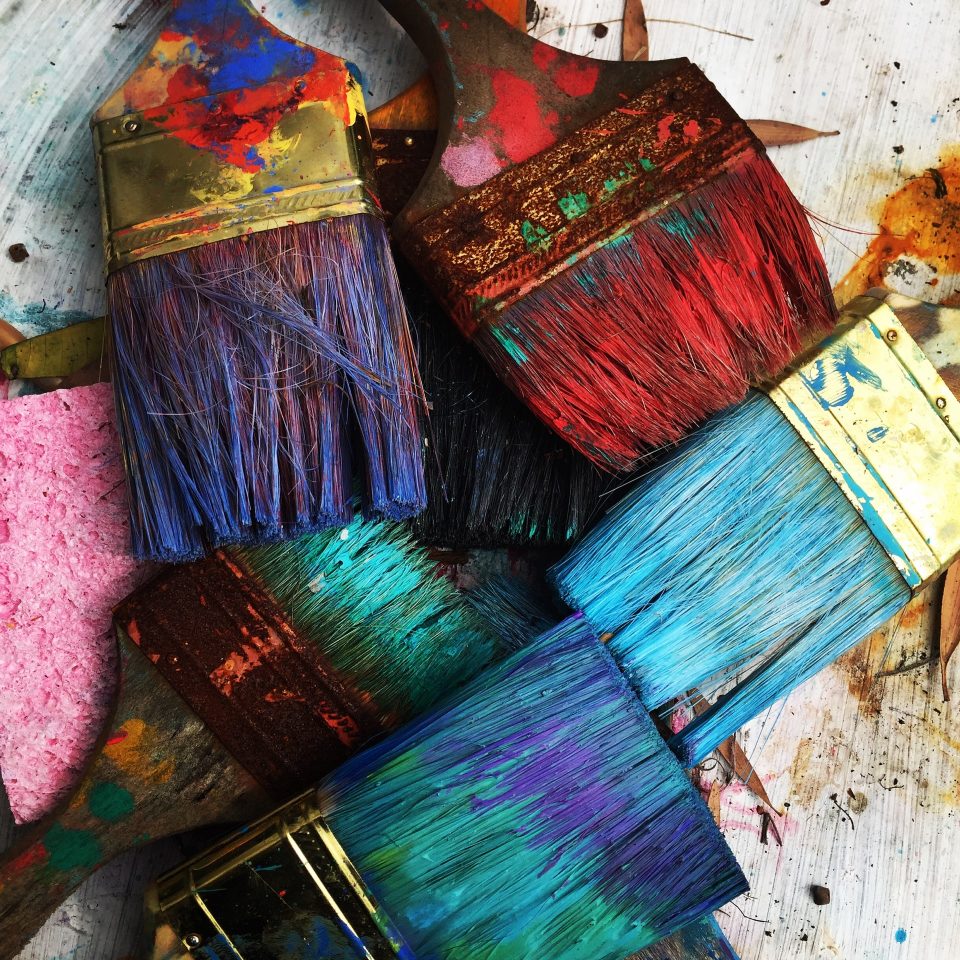
After purchasing a paint that suits your color preferences, pick a paint brush and roller that are perfect for the painting technique you’ll use. Rollers have different styles that correspond to different types of paints and strokes.
If you’ll use water-based paints, choose synthetic brush and rollers. But if you’ll use oil-based paints, select natural brushes and rollers. You can also ask for assistance to the paint dealer if you’re not sure what to use.
Mix your paint.
Use a paint stick to mix the paint frequently to avoid the pigment from settling below. If you’ll use more than one gallon of paint, combine them in a large bucket and stir it from time to time. In this way, you’ll maintain the consistency of the paint as you work on your project.
Make sure the painted area is well-ventilated.
After painting your room, wait for it to dry. Your room must be well-ventilated with your windows open. But if the weather is damp, it’s best to just use fans for the drying process.
The amount of time you’ll spend highly depends on the size of your room. While some rooms can be done within an hour or two, some might take even days. Before starting on your project, make sure to budget more time and don’t forget the preparation and cleaning up process.